


Renogy ShadowFlux Solar Panels Review - It Is Worth?
A single leaf, a small branch, or even the shadow of a chimney falls across your solar panel. The overall system's power output drops instantly. This frustrating shading issue has...


Rover Li 12V 20/30/40A MPPT Solar Charge Controller - 30A / w/Bluetooth is backordered and will ship as soon as it is back in stock.


Rover Li 12V 20/30/40A MPPT Solar Charge Controller
Unleash Full Power in Any Environment with Rover Controllers.

Unleash Full Power in Any Environment with Rover Controllers.

Unleash Full Power in Any Environment with Rover Controllers.

Upgrade to an MPPT charge controller with low-temperature protection for the most efficient solar charging of your batteries in any environment.

The high-quality casing materials and the addition of a rubber strip make this charge controller more effective in preventing rust, corrosion, and contamination while safeguarding wiring for optimal functionality. Internally, the controller boasts multiple protection mechanisms, ensuring the safety and longevity of your system.

Rover charge controller stands out with its rapid heat dissipation capabilities, ensuring efficient performance even in the most demanding environments. With the ability to quickly dissipate heat, this controller maintains peak performance, safeguarding your batteries and system components.

Experience unparalleled charging efficiency with our MPPT charge controller. By harnessing every bit of sunlight, this controller ensures optimal charging for your batteries. In just 4.9 hours, it can fully charge a 12V 100Ah battery, making it the perfect companion for your off-grid adventures.

Experience unparalleled charging efficiency with our MPPT charge controller. By harnessing every bit of sunlight, this controller ensures optimal charging for your batteries. In just 3.2 hours, it can fully charge a 12V 100Ah battery, making it the perfect companion for your off-grid adventures.

Experience unparalleled charging efficiency with our MPPT charge controller. By harnessing every bit of sunlight, this controller ensures optimal charging for your batteries. In just 2.4 hours, it can fully charge a 12V 100Ah battery, making it the perfect companion for your off-grid adventures.

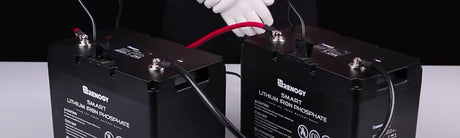
Tailor the lithium activation feature to your needs, ensuring your lithium batteries are protected in any scenario.

Revive Your Lithium Batteries When You Need


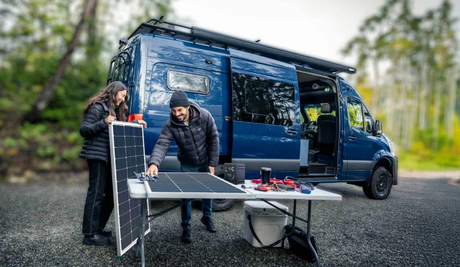
Going solar is not that complicated. Renogy is here to help you build your system faster so you can roam further.


x1

x1

x4

x1

x1
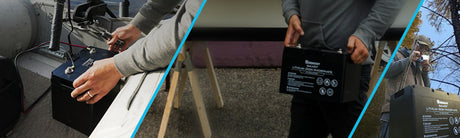
The off-grid solar system includes the solar panels, charge controller, batteries, inverter, Bluetooth module, and wirings.
First, the battery should be hooked up to the charge controller with tray cables. Second, then connect your solar panel to your charge controller with adaptor kits.
Battery Protection: Battery Over Discharge protection , Battery Over Voltage protection, Battery Reverse Polarity protection
Load Protection: Load Overload protection, Load Short Circuit protection, Controller Overheating protection
PV Protection: PV Over Current Protection , PV Short Circuit protection , PV Reverse Polarity protection, Battery overheating protection
In charge controllers, positive ground or negative ground refers to how the controller is wired internally. Positive ground means all the positives are hard-wired together, and the internal switching happens on the negatives. The negative ground is the opposite. It doesn't matter as long as your solar +/- runs to the charge controller and isn't grounded anywhere else.
No. Please always add an external fuse between the charge controller and batteries. To determine the fuse size needed between the charge controller and battery bank, you can match the amperage rating on the charge controller. For instance, if you have one of our 30Amp charge controllers, we recommend using a 30Amp fuse.
The Rover MPPT charge controller can work with standard off-grid 12/24V solar panels with high voltage or multiple panels with voltage up to 95V. And the maximum combined input solar power is 400W for a 12V battery system or 800W for a 24V system. In particular, this controller will significantly increase the efficiency of a solar system where the solar panel voltage is much higher than the battery voltage.
The Charge Controller takes the power made by the solar panels and transform the ‘solar panel power’ into a form of power that the batteries can use. MPPT stands for Maximum Power Point Tracking, and it relates to the solar cell itself. Each solar cell has a point at which the current (I) and voltage (V) output from the cell result in the maximum power output of the cell. MPPT ensures that you get the most power possible from your solar panels at any point in time. It is particularly effective during low light level conditions.
30A represents the max amount of amps the controller can output going INTO THE BATTERIES.
Renogy Rover series solar charge controller uses the most advanced Maximum Power Point Tracking (MPPT) technology to track solar panels' maximum power voltage point as it varies depending on sunlight exposure and temperature. This technology ensures the maximum efficiency of your solar system and significantly outperforms standard PWM solar controllers. Another benefit of MPPT technology is the wide solar input voltage range. This controller can work with standard off-grid 12/24V solar panels and with high voltage or multiple panels with voltage up to 95V.
Everything isup and running. Furst time installing solar.
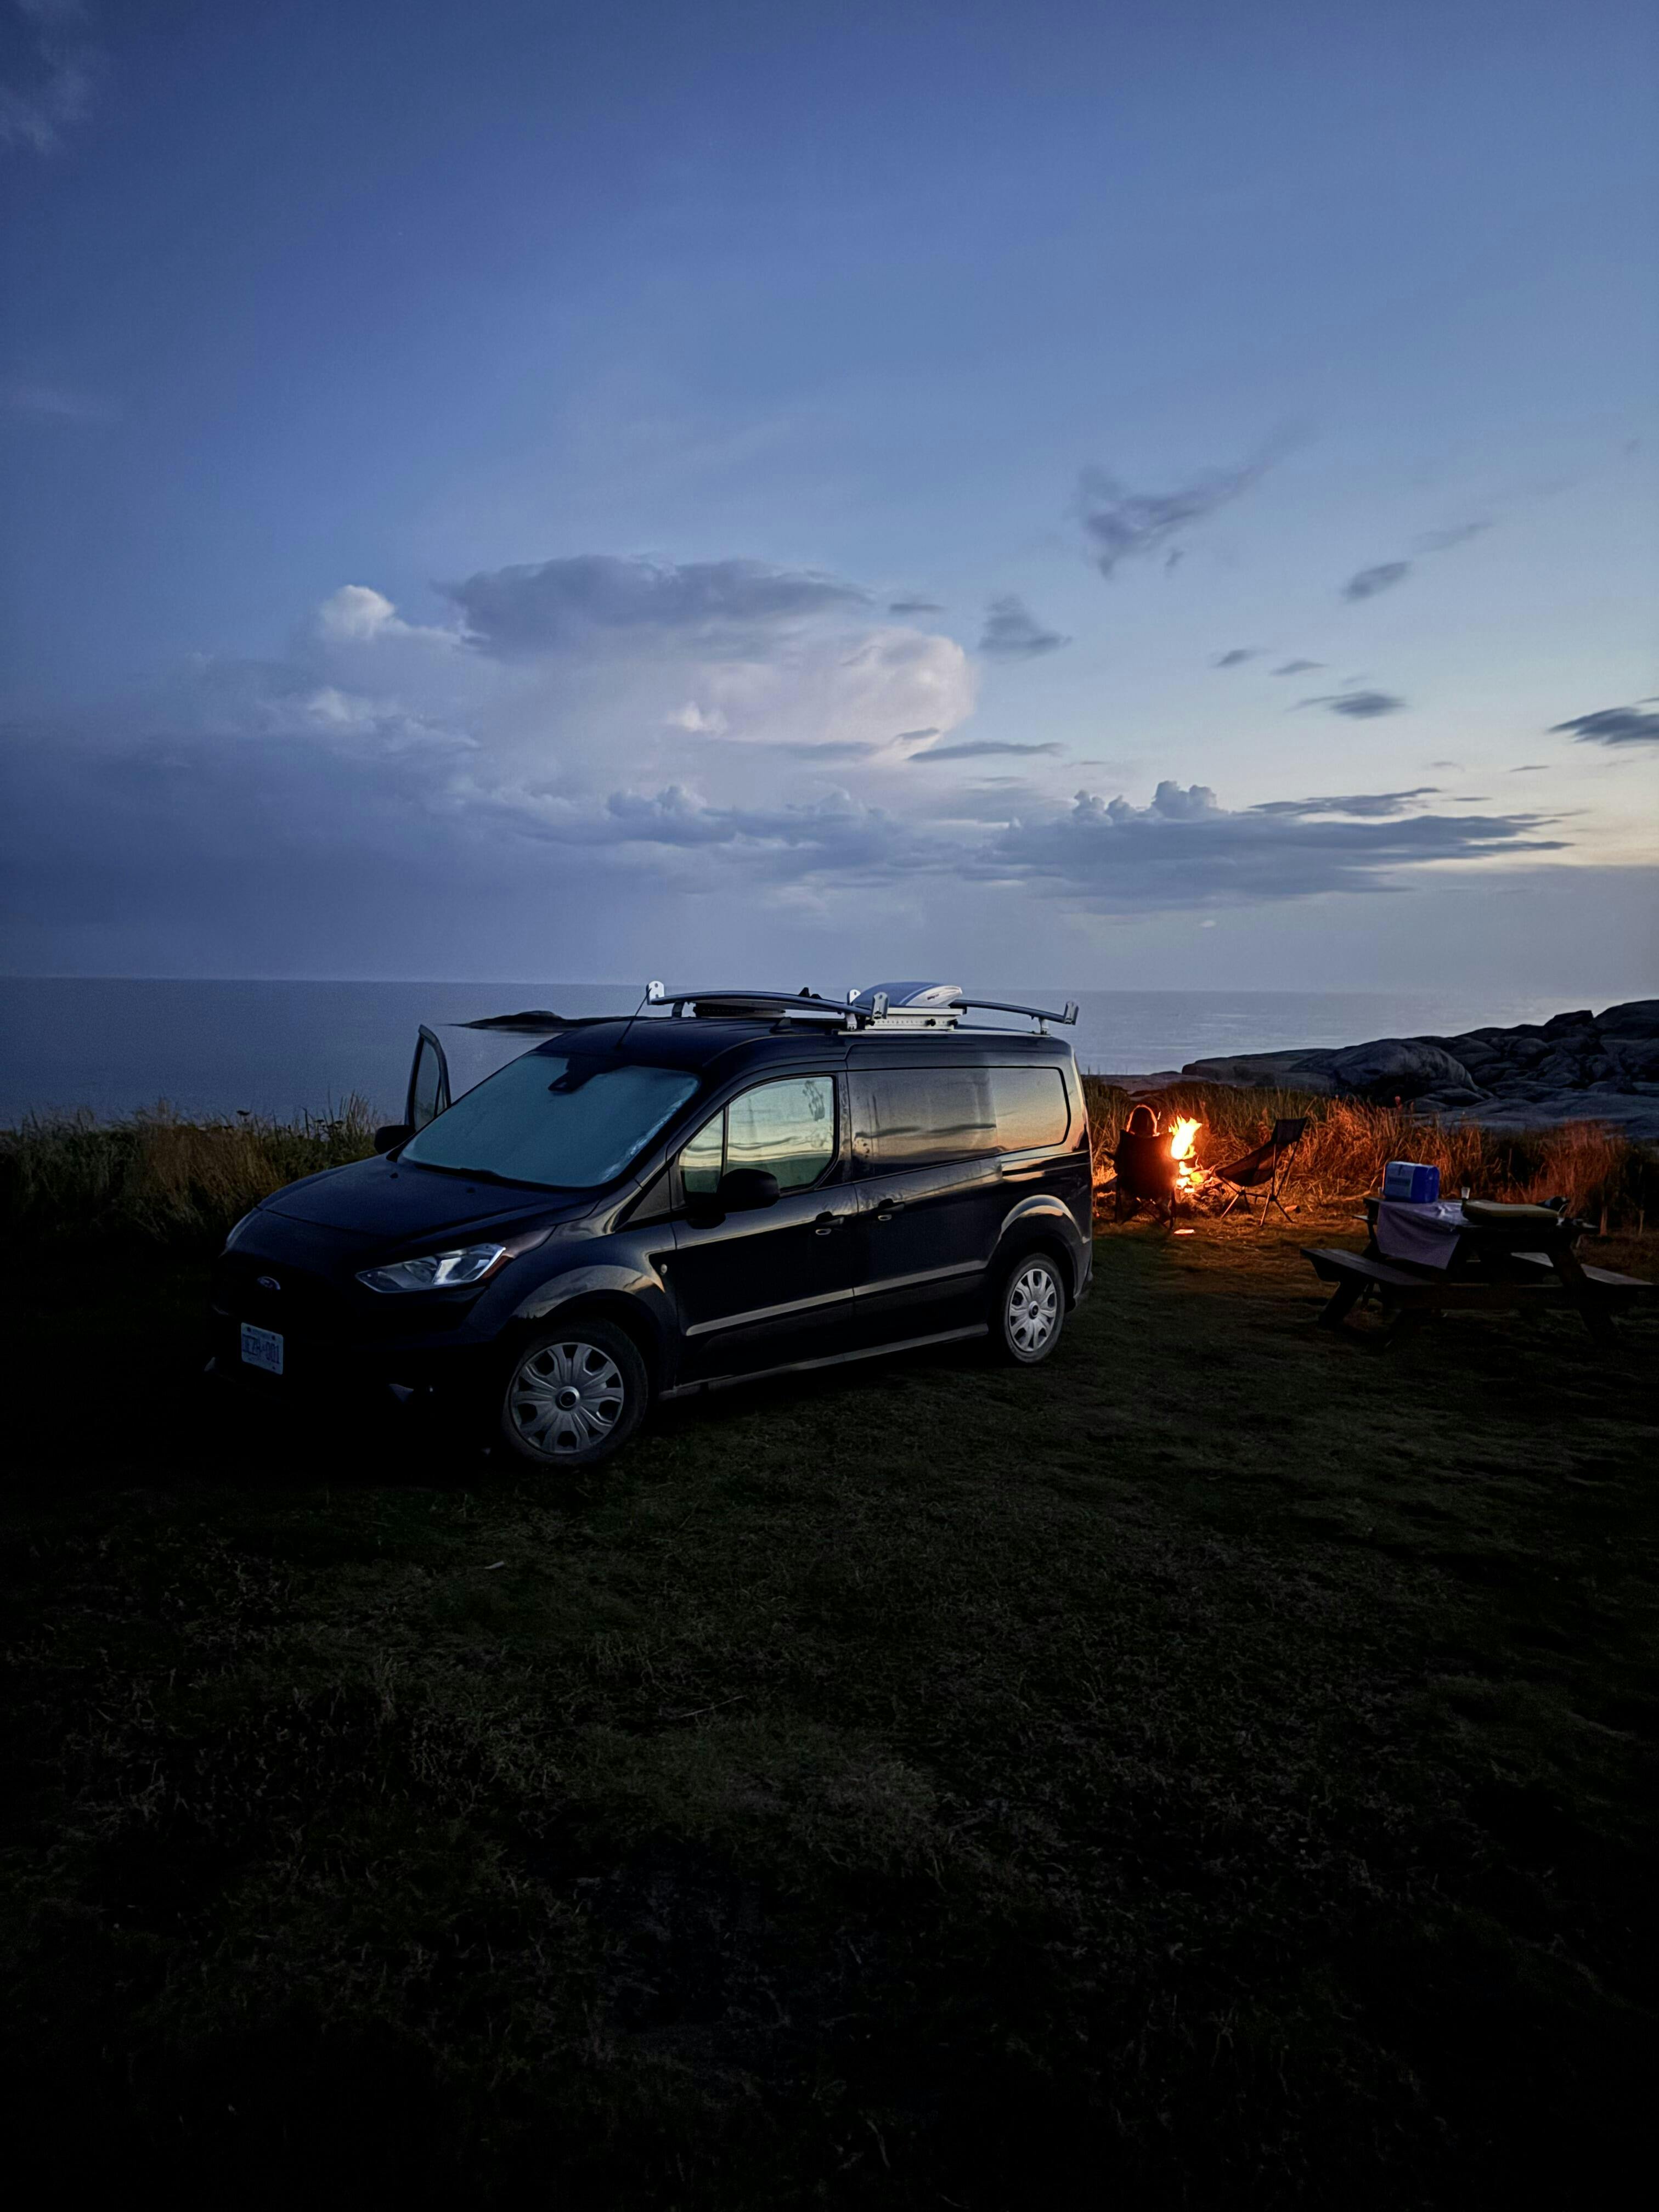
Easy to install and has worked perfectly on our rugged North Shore of the St Lawrence River trip. Happy to have it and the Renogy solar panel and Dc-DC battery charger. Good quality and price.
Just great
Appears to be working well. Runs hot
Perfect
A single leaf, a small branch, or even the shadow of a chimney falls across your solar panel. The overall system's power output drops instantly. This frustrating shading issue has...
There's nothing more frustrating for an RVer than waking up to a cloudy day. While the weather might pause your outdoor plans, the real concern is your solar panel energy...

The demand for solar energy is increasing day by day across the world, including Canada. The major reason behind its rising demand is that it generates electricity without producing air...

A good marine battery will ensure a safe, reliable, and fun sailing experience on your boat. The right battery will power the navigation system, communication system, lighting, refrigeration, and electronics....

Though disconnecting a car battery is simple, and you don't necessarily need to visit a technician for this purpose, not all can perform this task effectively. Whether you want to...
Solar energy is becoming an increasingly popular source of renewable energy. It is clean, sustainable, and provides an excellent alternative to traditional fossil fuels. However, the issue with solar energy...
How to Charge a Deep Cycle Battery If you've ever owned an RV or a boat, you know that deep-cycle batteries are essential for keeping the lights on and the...

Maintaining solar panels in a hot, dry place like Nevada is relatively easy: You dust them off, polish them up once a year, and only check in on them if...


Amp
Monitor Options